Draw The Letter E As It Appears On The Slide
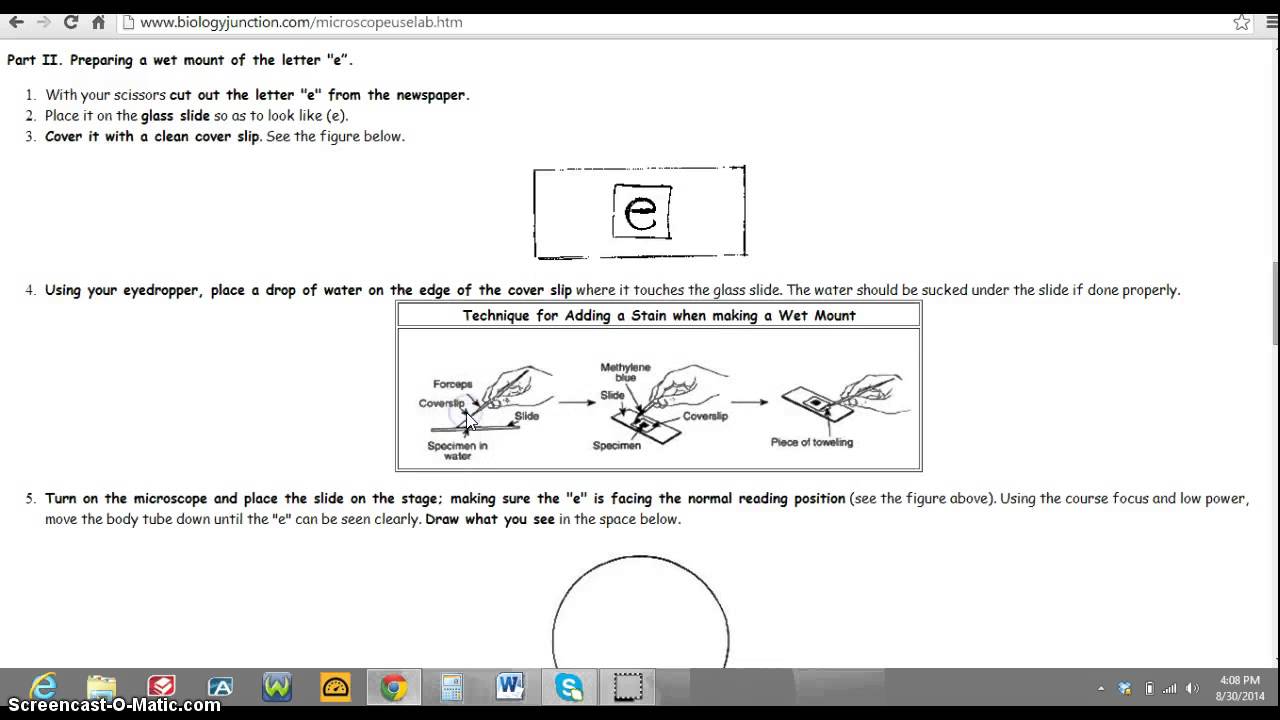
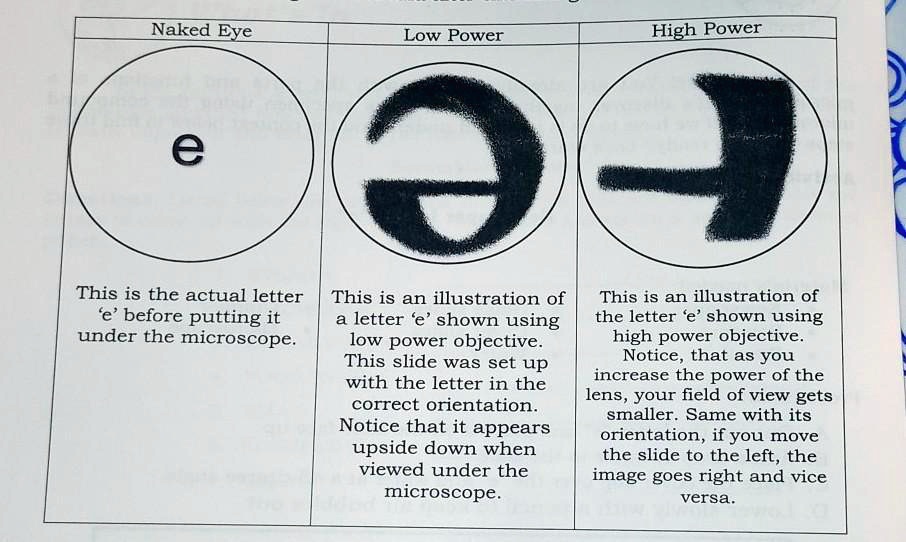
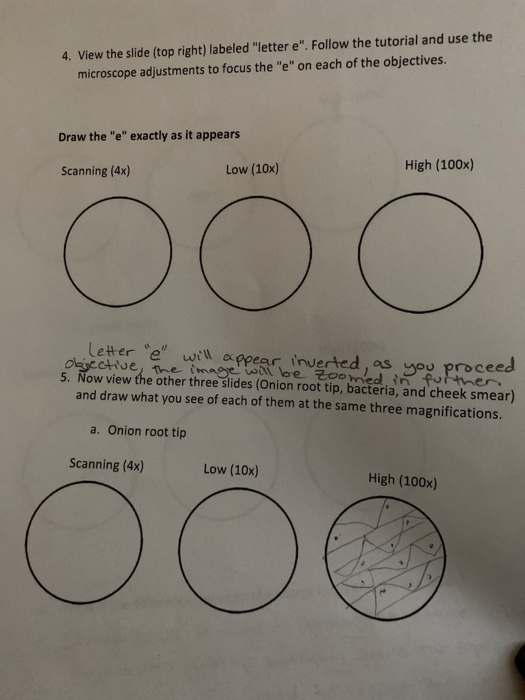
Draw The Letter E As It Appears On The Slide - Place the slide of the letter “e” on the stage and stabilize it with the stage clips. The circle represents the viewing field of the microscope. Up to 24% cash back place the slide of the letter “e” on the stage and stabilize it with the stage clips. The circle represents the field of view; On the stage of the light microscope so that the letter is over name: Place the prepared “e” slide onto the stage and secure it with the clips (usually one clip is sufficient). Orient the letter “e” right side up. Up to 24% cash back part b: Use a dropper pipette to place one drop of water on the letter, as shown in figure 1. Obtain a slide of the letter e. On the stage of the light microscope so that the letter is over name: Up to 24% cash back cut out a letter “e” from the paper provided. Sketch the letter e as it appears under scanning power in the circle. Use a dropper pipette to place one drop of water on the letter, as shown in figure 1. Obtain a slide of the letter e. (draw it exactly how it appears in the. Center the “e” the best you can on the stage. Center the “e” the best you can. Orient the letter “e” right side up. In the space below, draw the letter e as it appears on the slide, not viewed through the. The letter “e” should be facing you right. Up to 24% cash back place the slide of the letter “e” on the stage and stabilize it with the stage clips. (draw it exactly how it appears in the. Focusing the letter “e” 1. As you move the slide toward the right of the stage,. The hole and is right side up as you look at it with the naked eye. Up to 24% cash back place the slide of the letter “e” on the stage and stabilize it with the stage clips. To draw the letter 'e' as it appears on the slide with the unaided eye, you would need to observe the image. Up to 24% cash back part b: Place the slide of the letter “e” on the. Cut out the letter and place it on the center of a slide. Position the letter e, as it would be read, over the stage hole, and secure the slide with the slide clamp. Up to 24% cash back lower the stage using the. Ask the teacher for a letter e slide. Observe it with only your eyes. Place the slide of the "letter e" Cut out the letter and place it on the center of a slide. Center it on the stage. Place a coverslip so that one edge touches the. Center the “e” the best you can on the stage. Use a dropper pipette to place one drop of water on the letter, as shown in figure 1. Up to 24% cash back place the slide of the letter “e” on the stage and stabilize it with the stage clips. On. In data section below, draw what you see in figure 1. Center the “e” the best you can. As you move the slide toward the right of the stage,. A) use the scanning objective to view the letter and use the coarse knob to focus. Place the slide of the letter e on the stage so that the letter is. In data section below, draw what you see in figure 1. Draw your e to scale. The letter “e” should be facing you right. The hole and is right side up as you look at it with the naked eye. Focusing the letter “e” 1. Place your slide on the stage. Position the letter e, as it would be read, over the stage hole, and secure the slide with the slide clamp. Draw the letter 'e' at low power, as it appears through the microscope. As you move the slide toward the right of the stage,. To draw the letter 'e' as it appears on. In the space below, draw the letter e as it appears on the slide, not viewed through the. Place the slide of the letter “e” on the stage and stabilize it with the stage clips. 🅴🎵this fun and engaging music video helps kids explore the letter e w. Place the slide of the letter “e” on the. Place the slide. As you move the slide toward the right of the stage,. Ask the teacher for a letter e slide. In the space provided, draw an outline of the letter “e” as it appears through the eyepiece. Place the prepared “e” slide onto the stage and secure it with the clips (usually one clip is sufficient). 🅴🎵this fun and engaging music. Observe it with only your eyes. Place the slide of the letter “e” on the. Place your slide on the stage. A) use the scanning objective to view the letter and use the coarse knob to focus. Center the “e” the best you can on the stage. Orient the letter “e” right side up. The circle represents the field of view; Place the slide of the letter “e” on the stage and stabilize it with the stage clips. Approximate the proportions of the letter 'e' within the field of view as you see it at. The circle represents the viewing field of the microscope. 🅴🎵this fun and engaging music video helps kids explore the letter e w. Draw the letter 'e' at low power, as it appears through the microscope. You can do this by. Draw your e to scale. Up to 24% cash back cut out a letter “e” from the paper provided. Cut out the letter and place it on the center of a slide.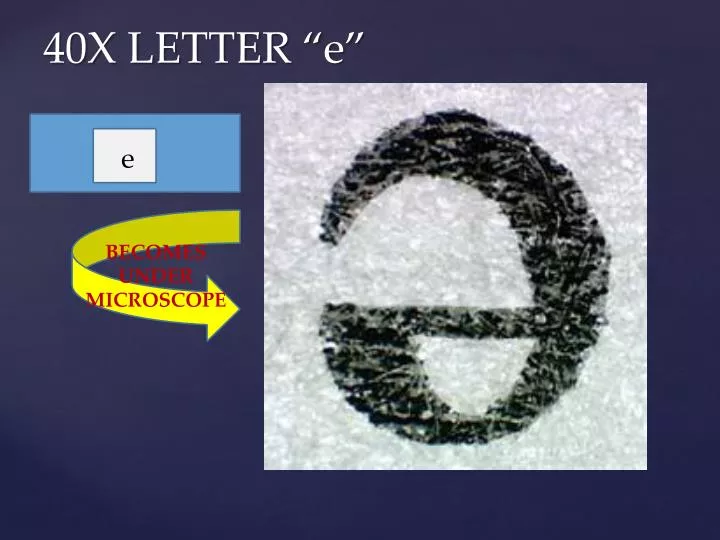
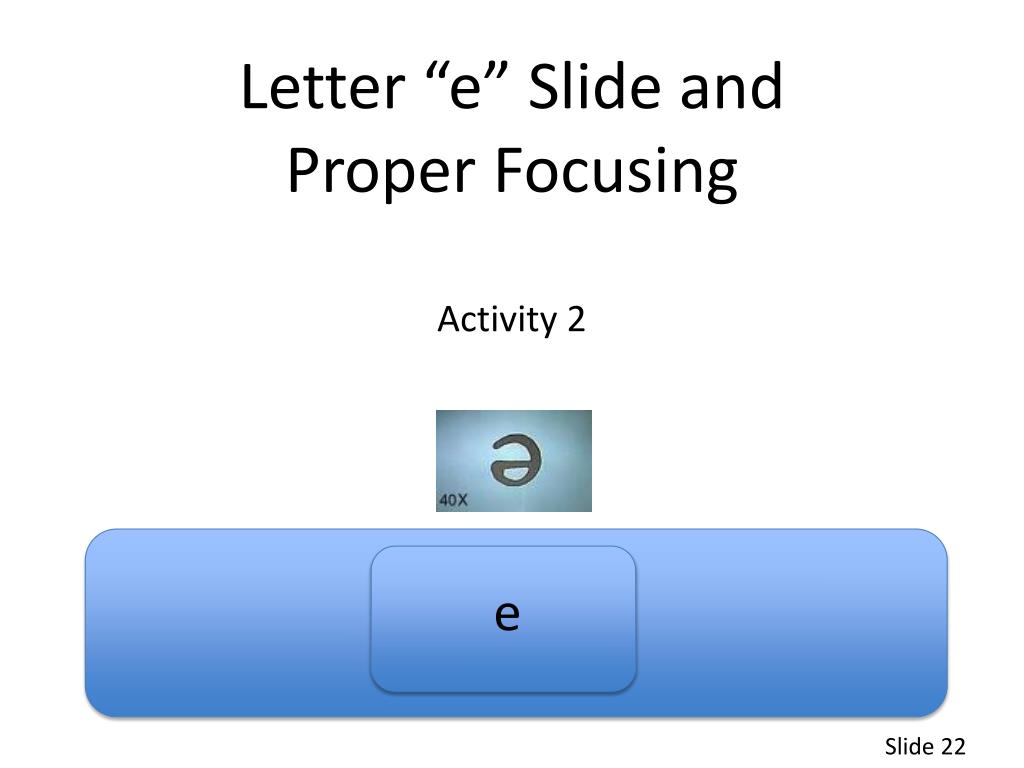
PPT 40X LETTER “e” PowerPoint Presentation, free download ID2827593
Letter E Slide Under Microscope at Linda Henson blog
Letter E Slide Under Microscope at Linda Henson blog
Draw The Letter E As It Appears On The Slide

Draw The Letter E As It Appears On The Slide
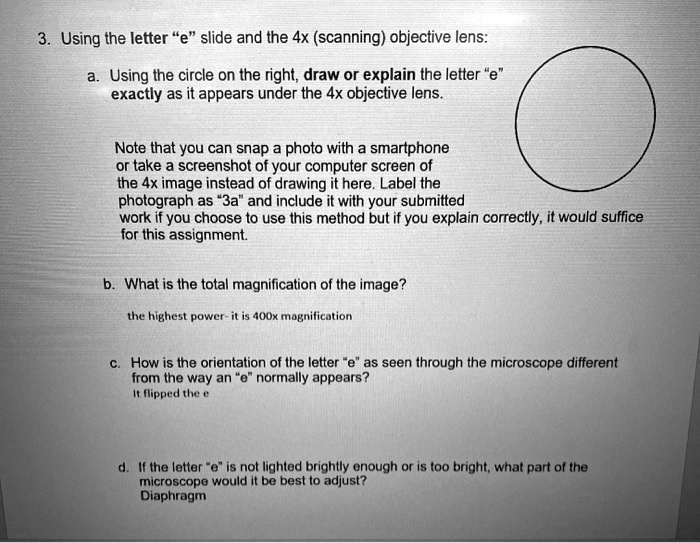
SOLVED Using the letter "e" slide and the 4x (scanning) objective lens
[Solved] Describe the details in the slides "Letter e" that

Draw The Letter E As It Appears On The Slide
Draw The Letter E As It Appears On The Slide
PPT Lab 1 PowerPoint Presentation, free download ID2063291
Place The Slide Of The Letter E On The Stage So That The Letter Is Over The Hole And Is Right Side Up.
Center It On The Stage.
The Letter “E” Should Be Facing You Right.
Up To 24% Cash Back Part B:
Related Post: